
In this tutorial I am going to show you how to handwrite and convert to text. Even the messiest handwriting will look good!
Go ahead and open ZoomNotes and select the planner/journal you want to use. (Tap on the thumbnails to see a larger image).
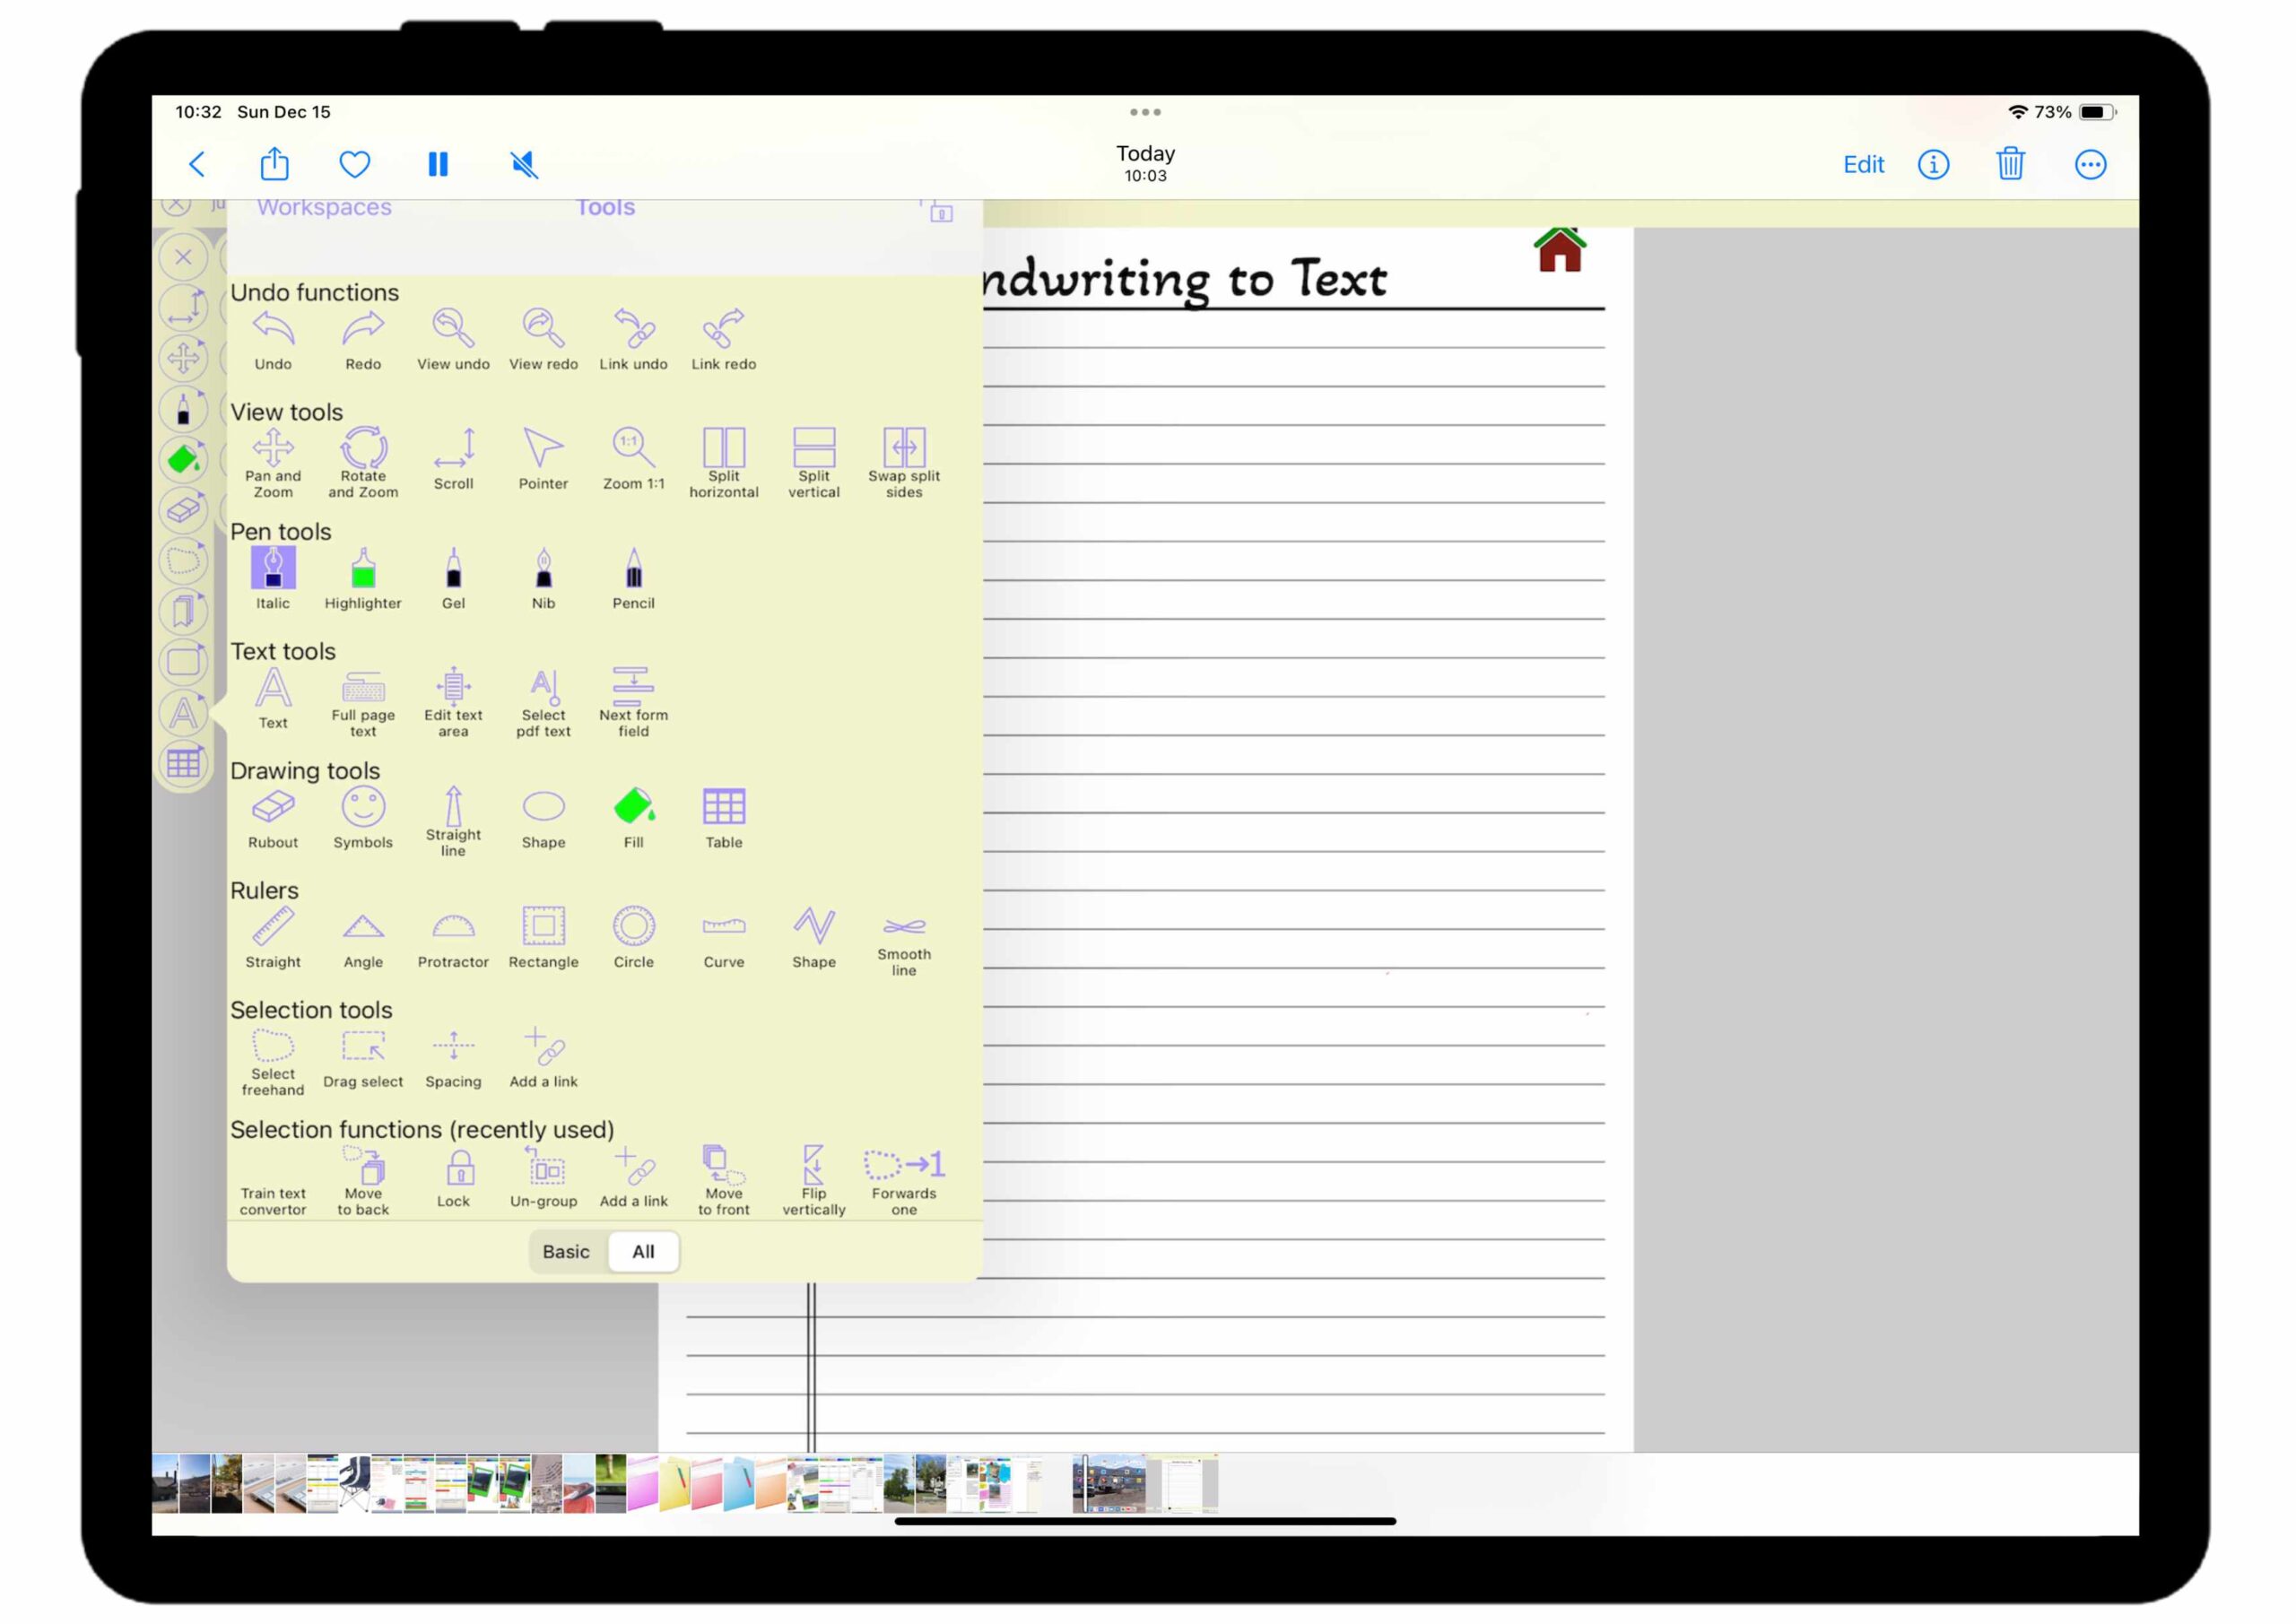
- Over on the tool bar, for me, I have chosen to have my tools on the left side of my iPad
- Choose the text tool and draw a text on the page of your planner/journal. You can make the text box any size you want.
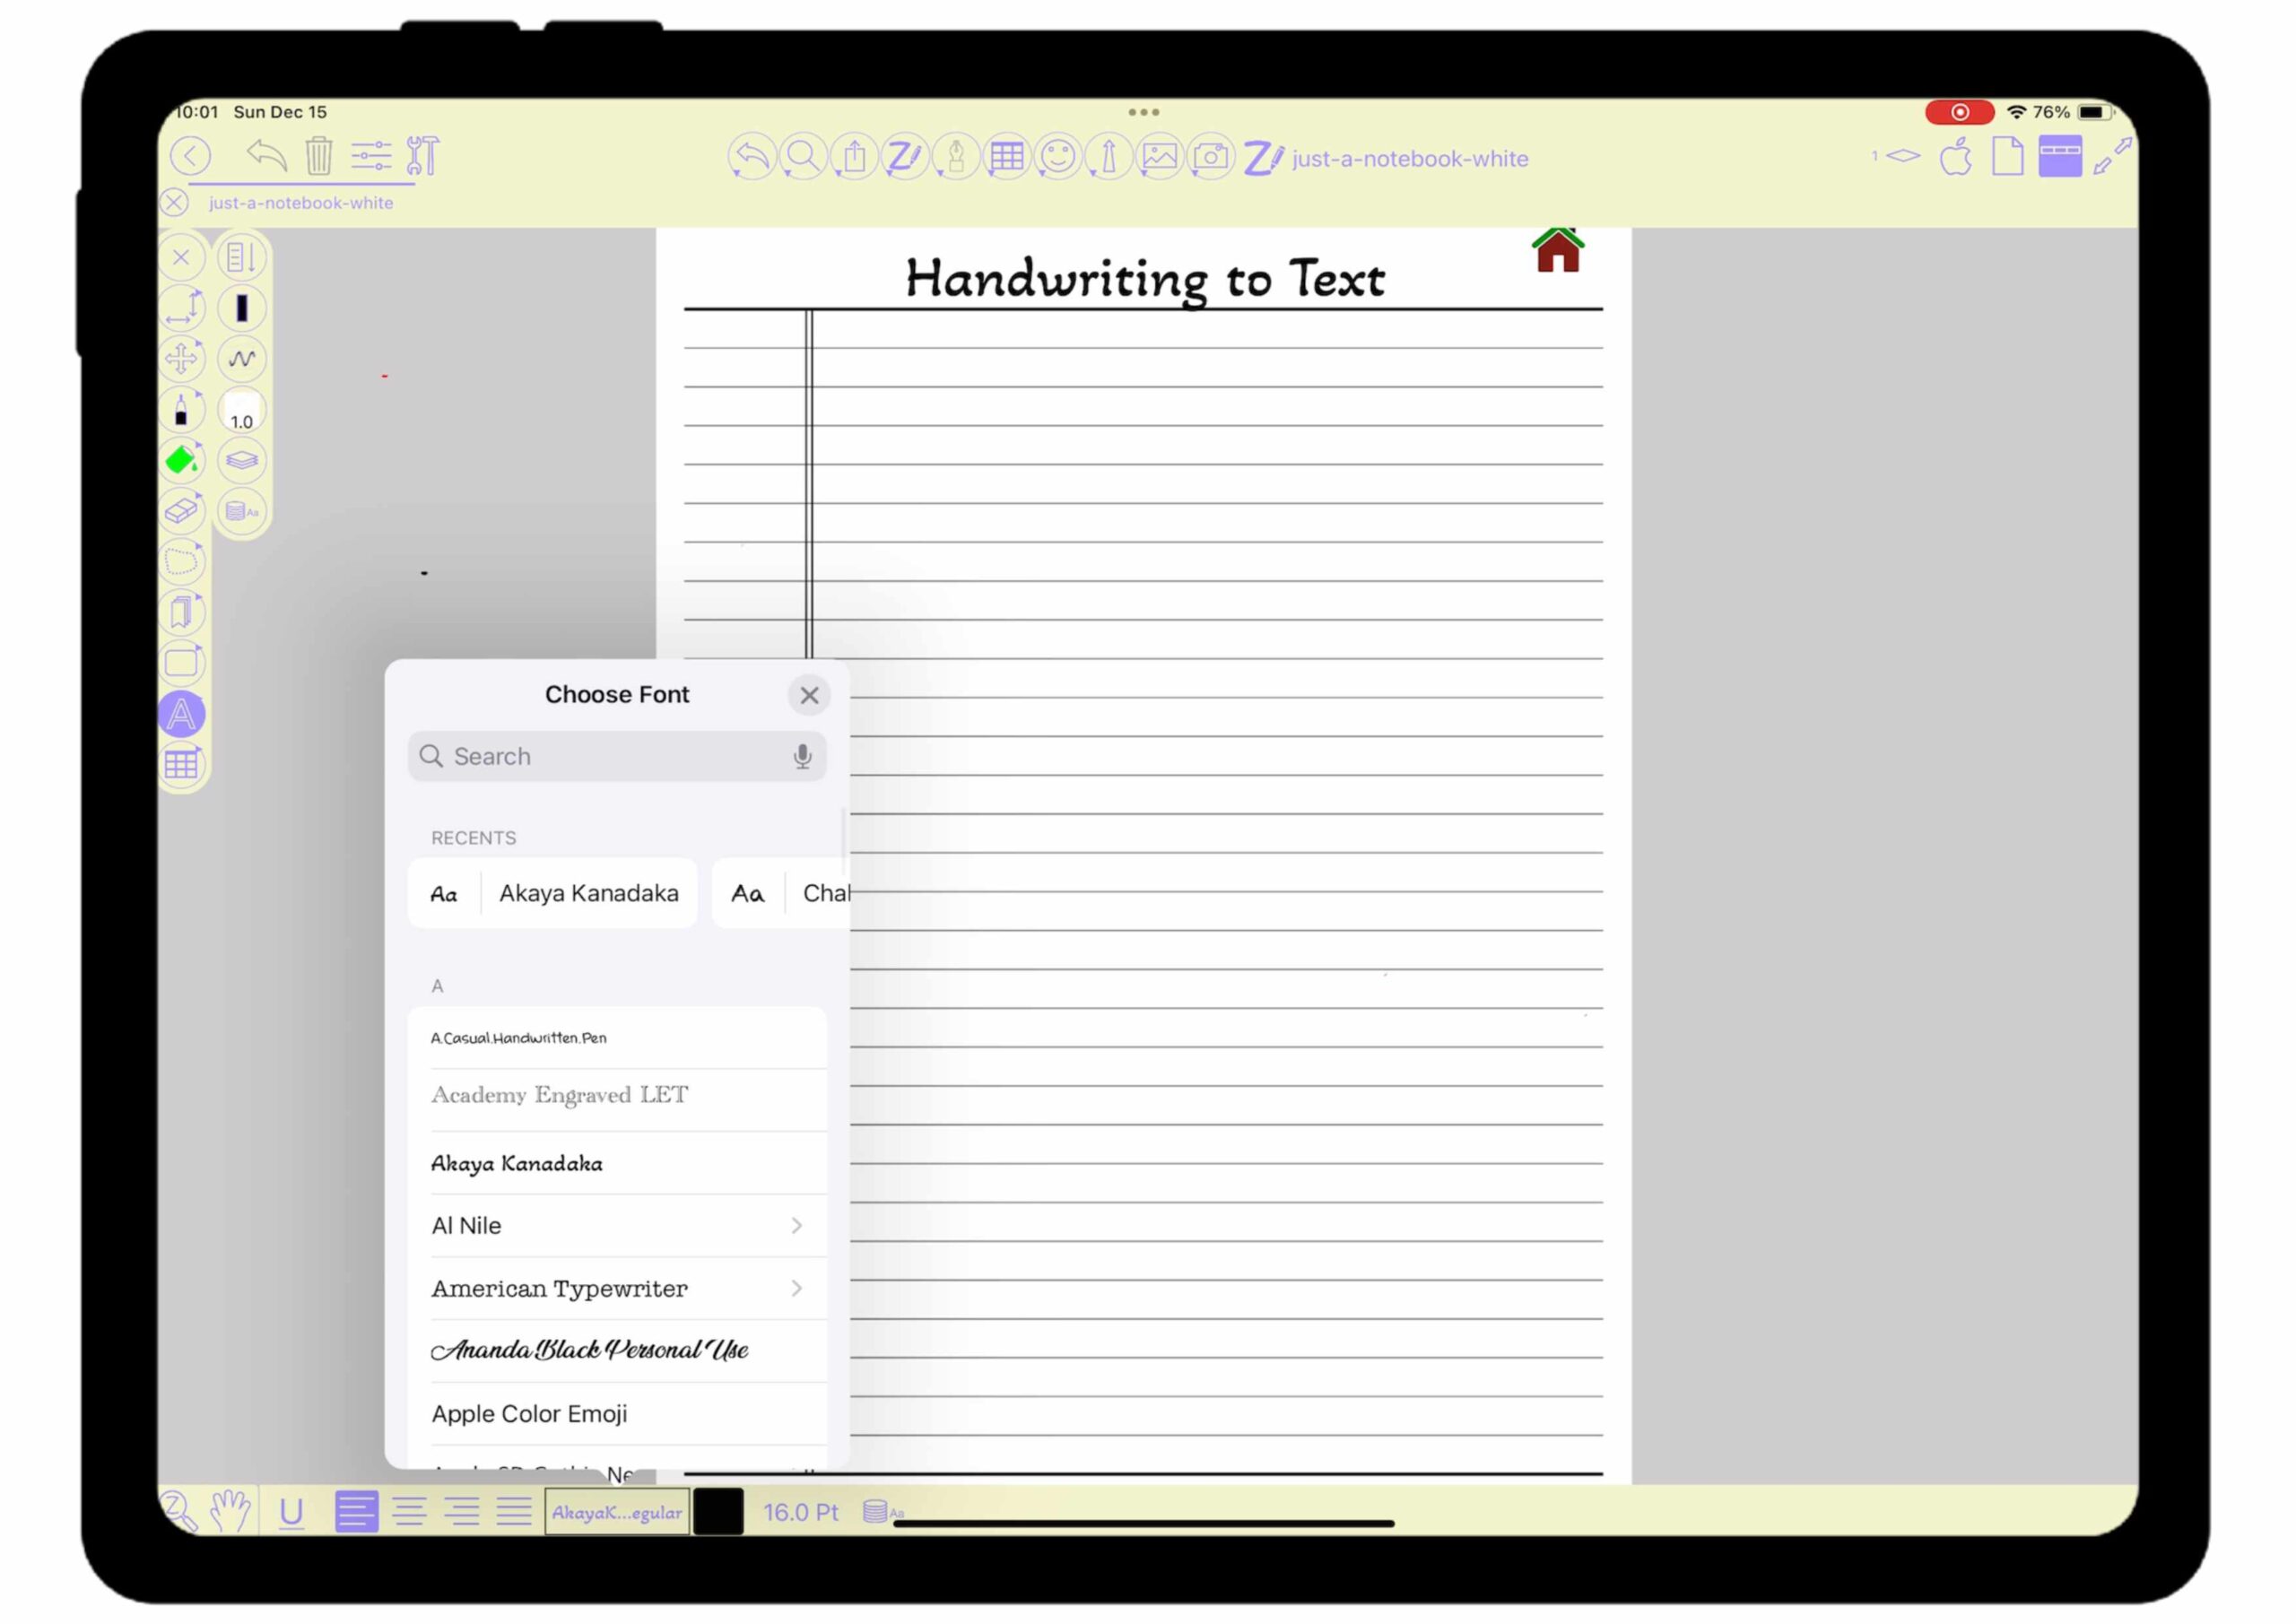
- Choose the font
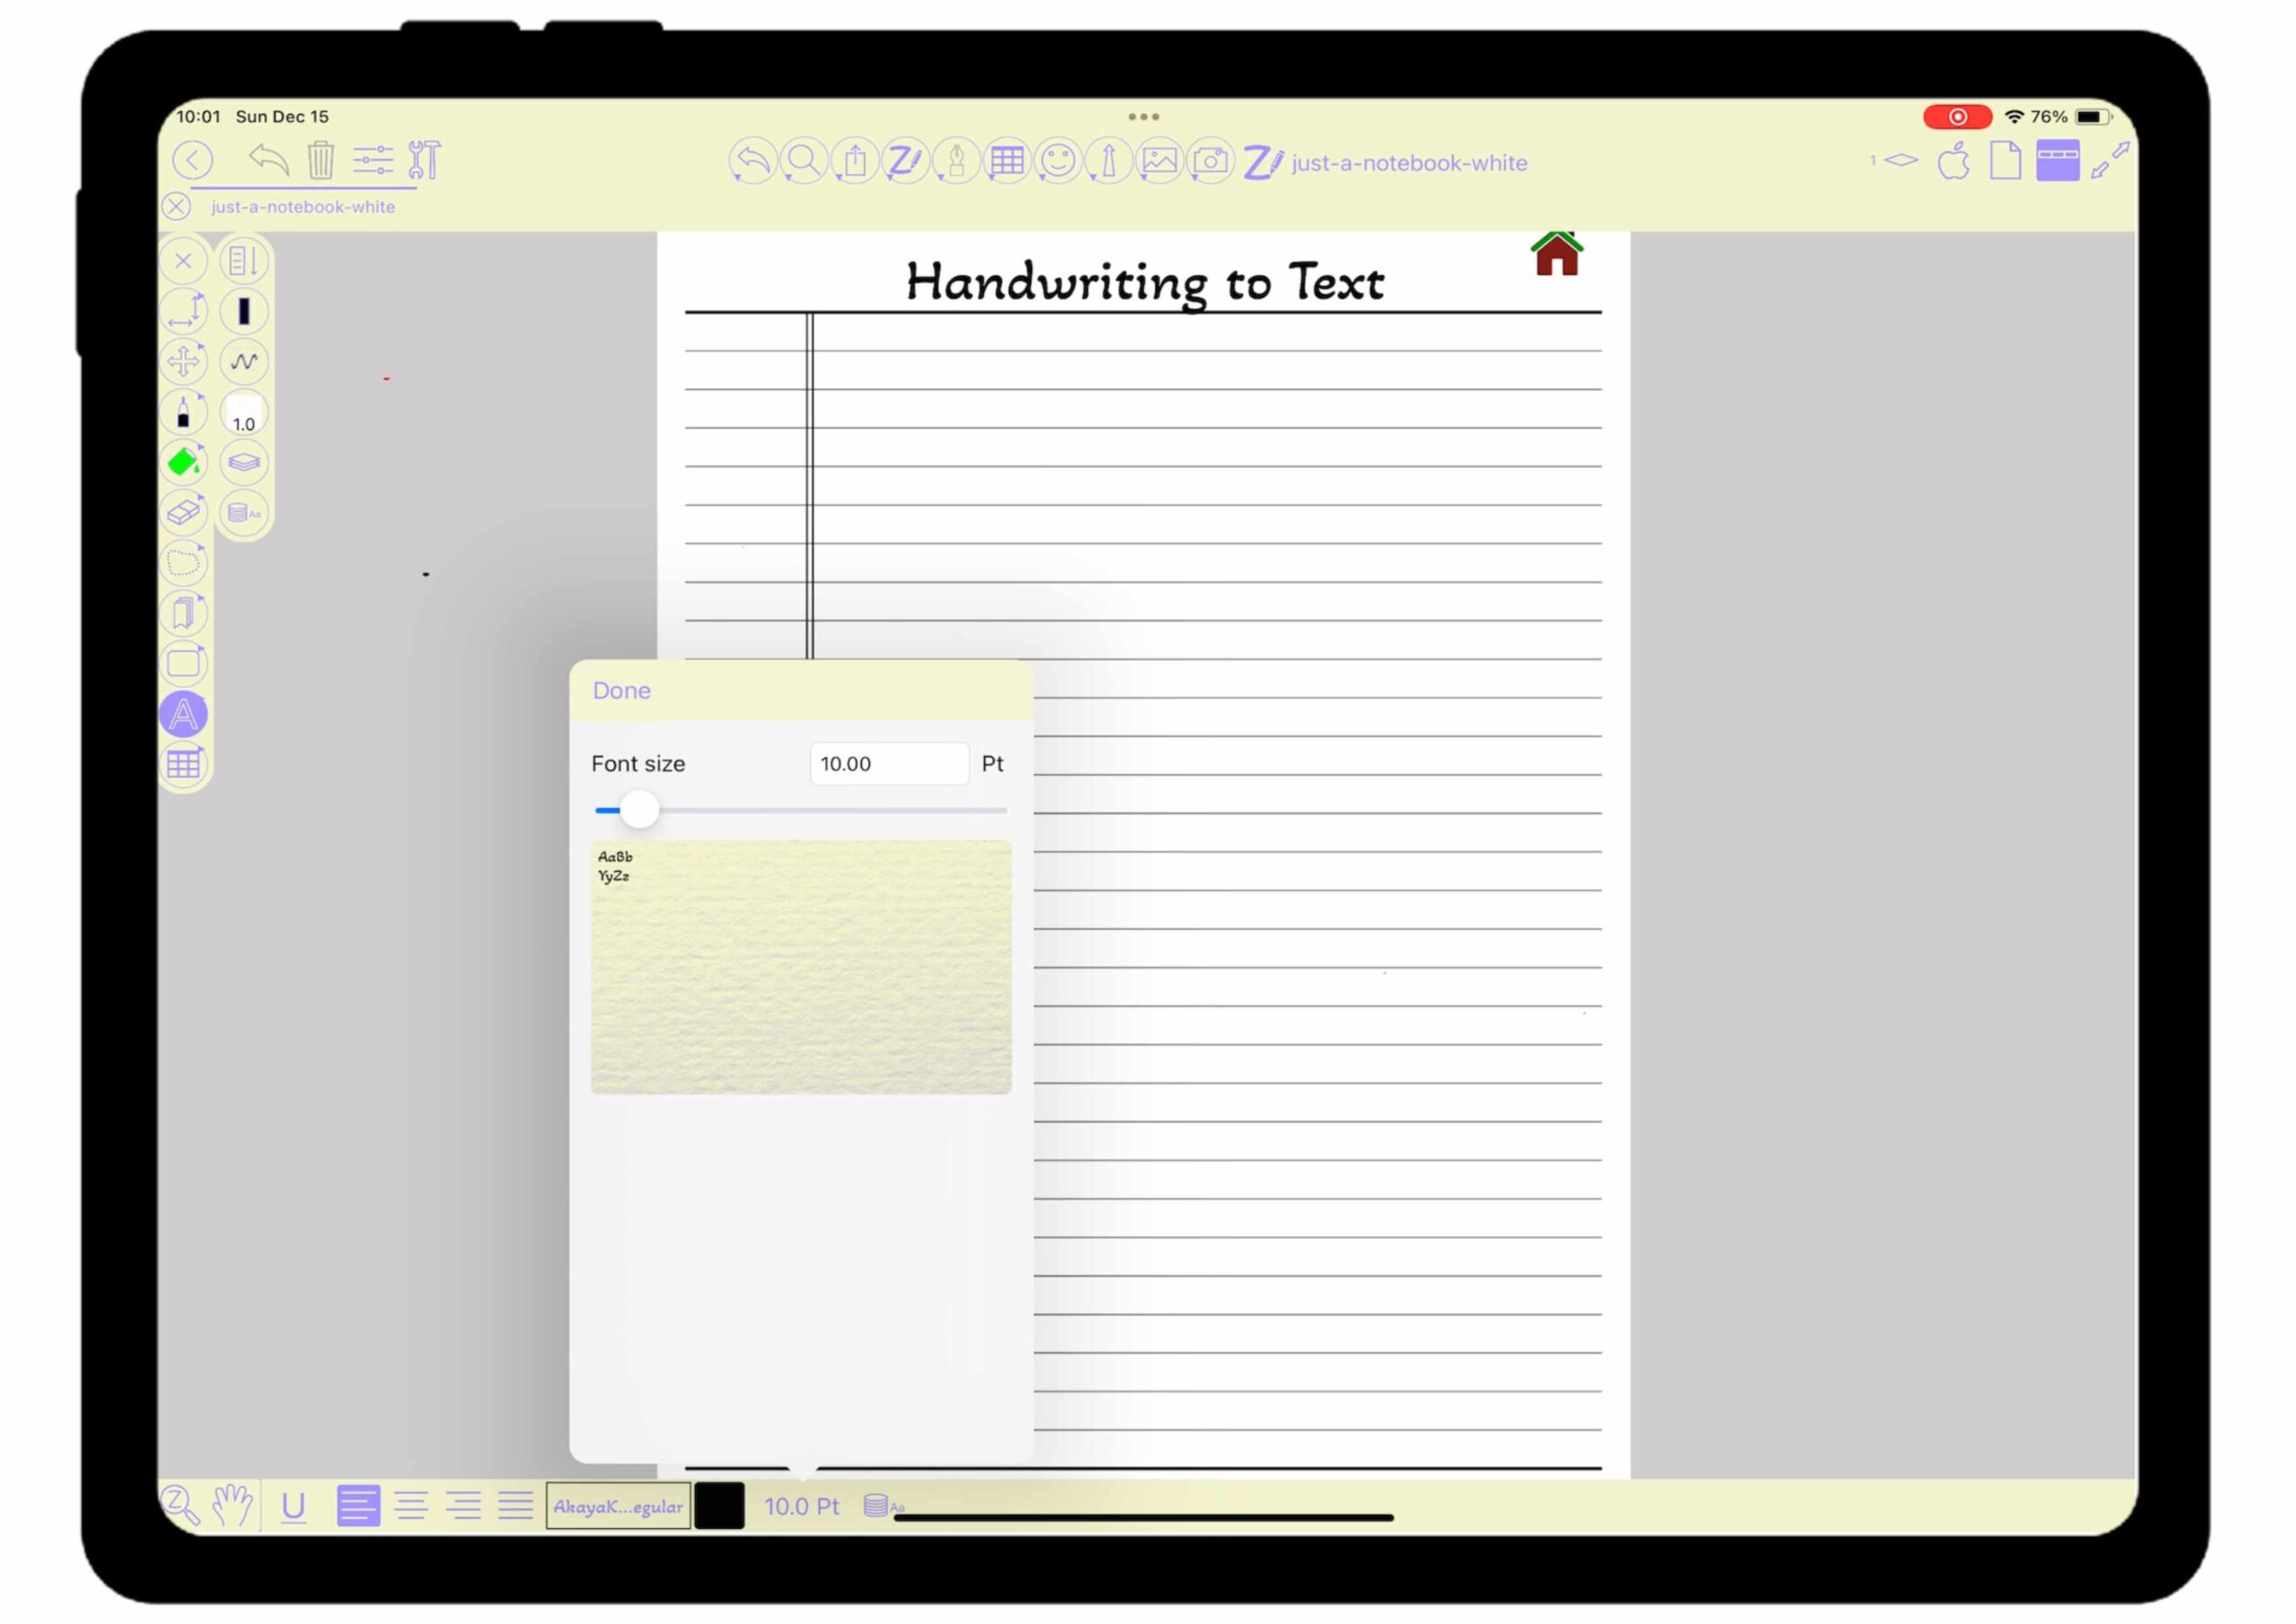
- Choose the size of the font (all of this, text box size, font and size, is easily editable if you don’t like the way it turned out the first time).
- Start writing within the text box you just made.
When you are done writing, fixed any mistakes, which can be done by tapping in the text box at the mistake and brining up the keyboard and making any corrections. ZoomNotes is very intuitive when it comes to spelling mistakes and will automatically correct them for you – not always though and it may require some assistance from you!
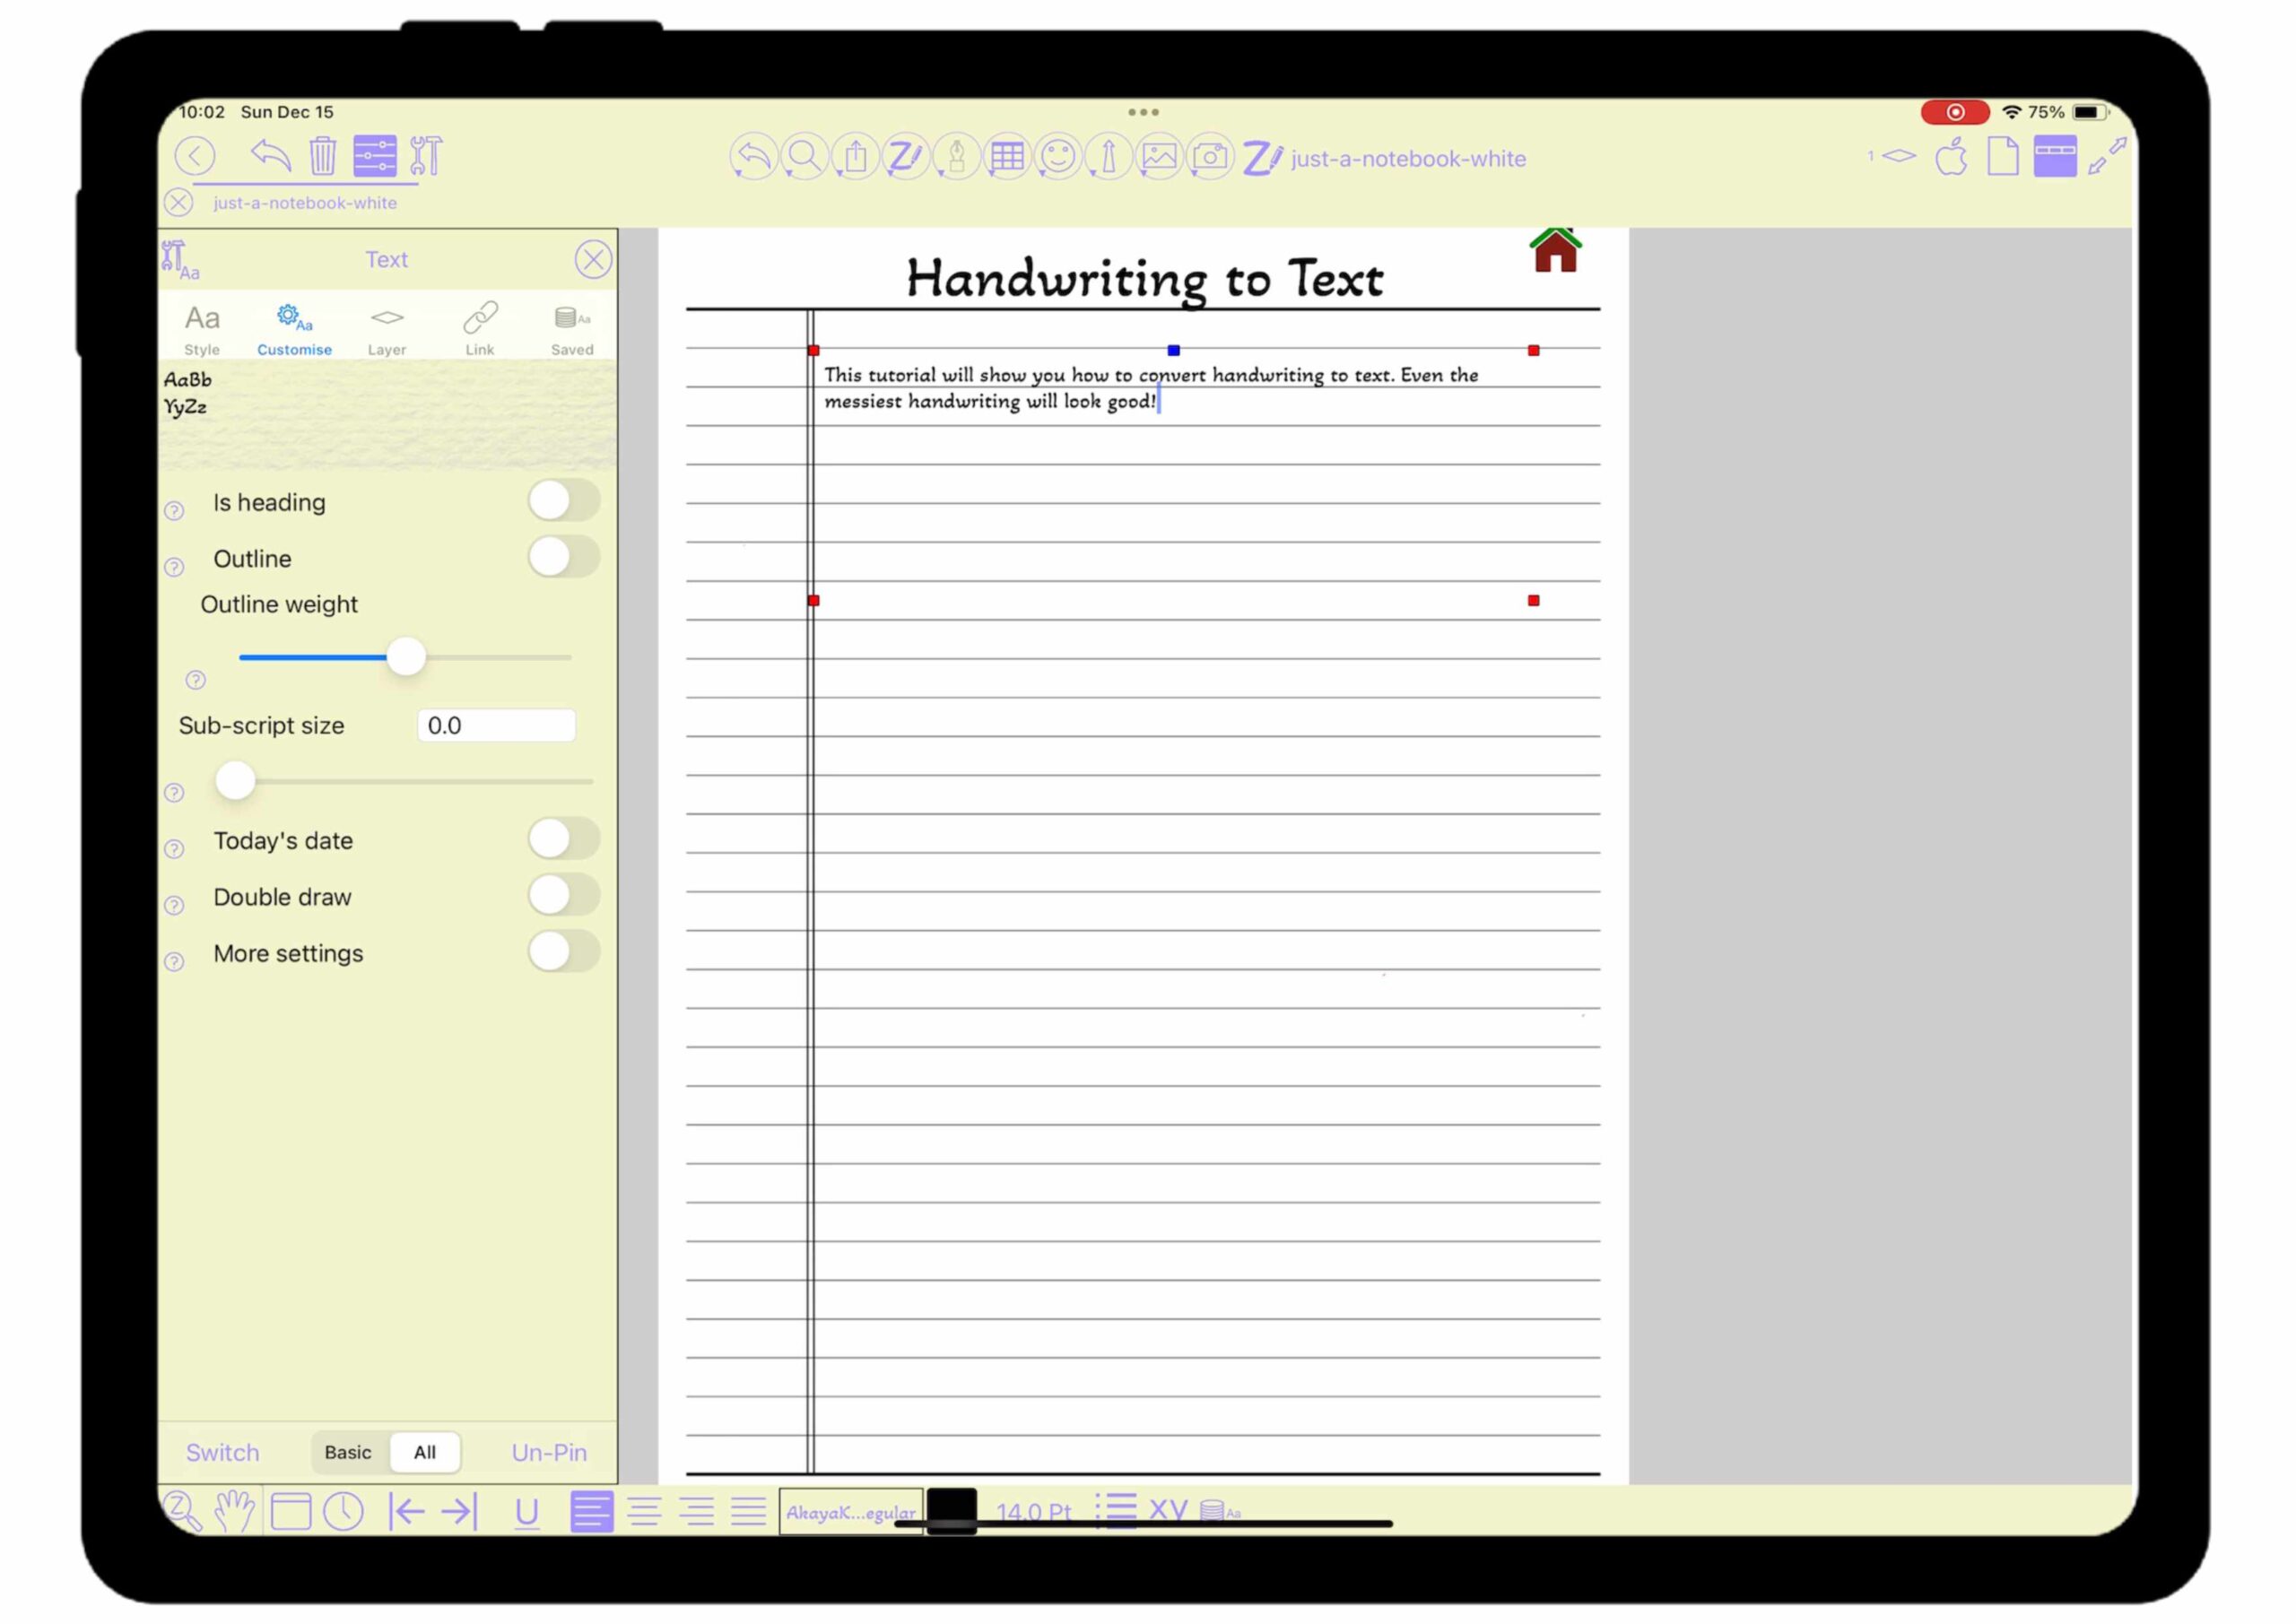
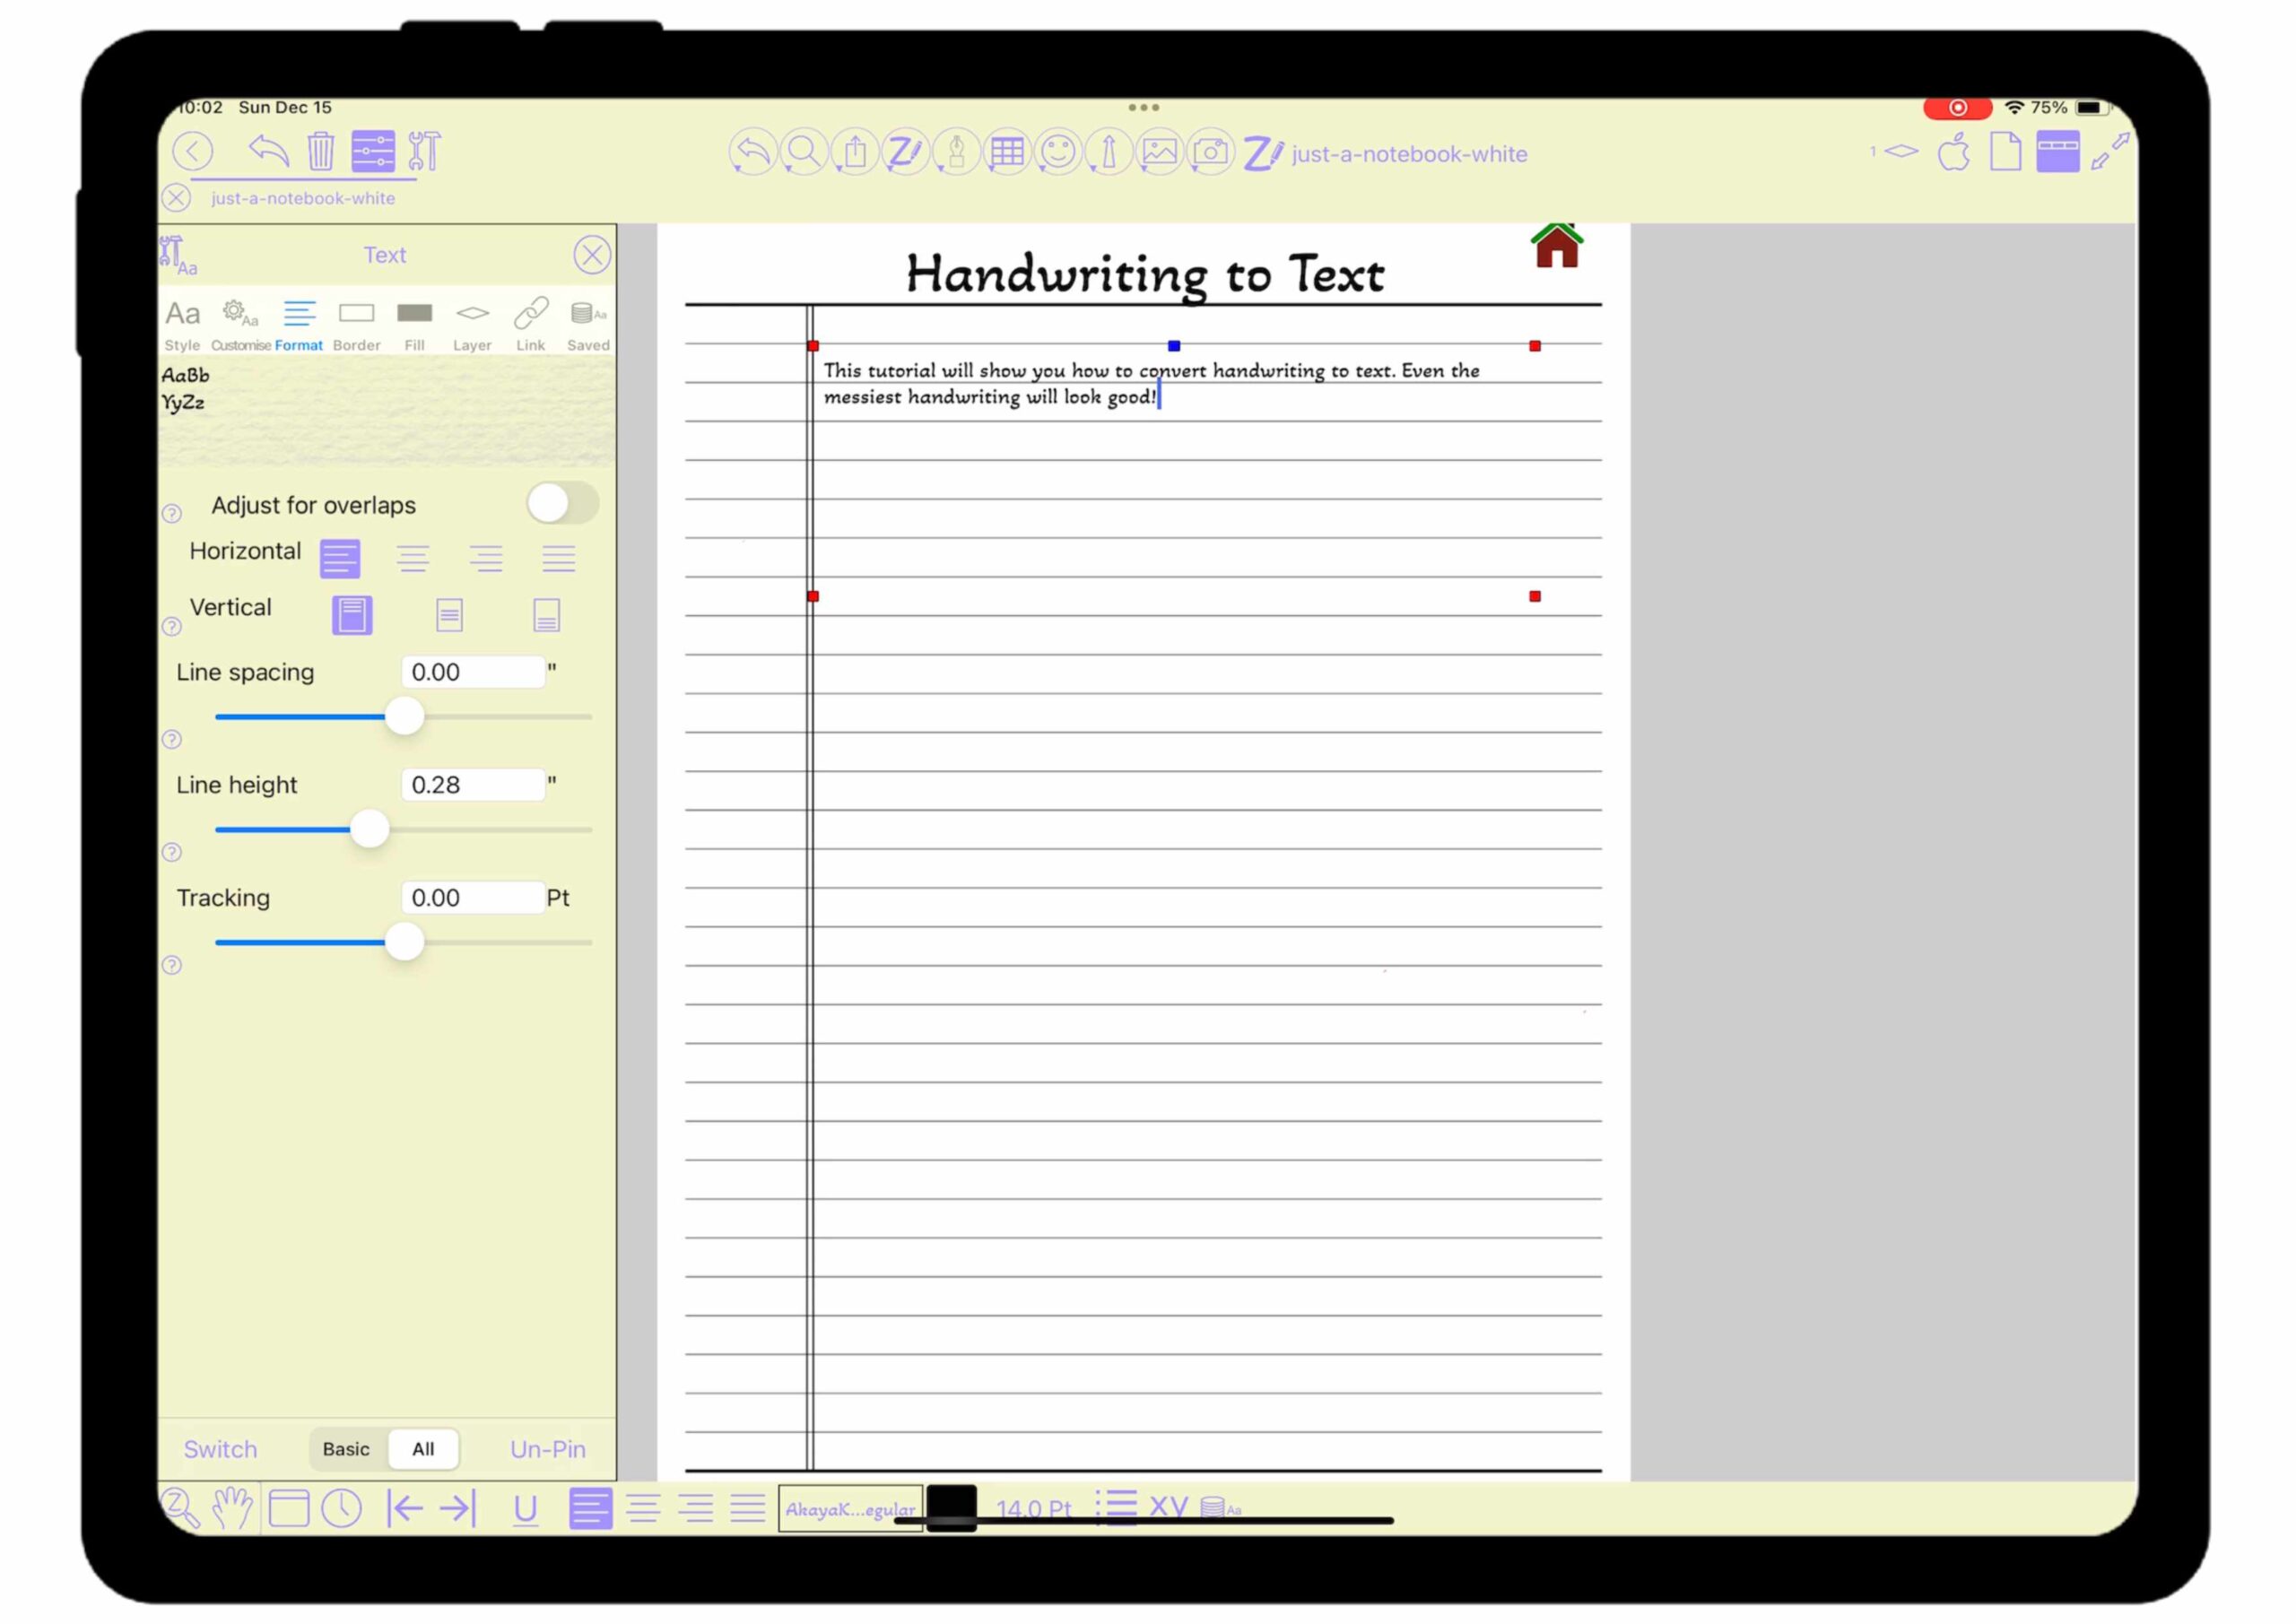
Now let’s go ahead and adjust the spacing and line height.
- Tap on the text tool
- Turn on more settings
- Tap on format
- Go to the line height slider and adjust to where you want it
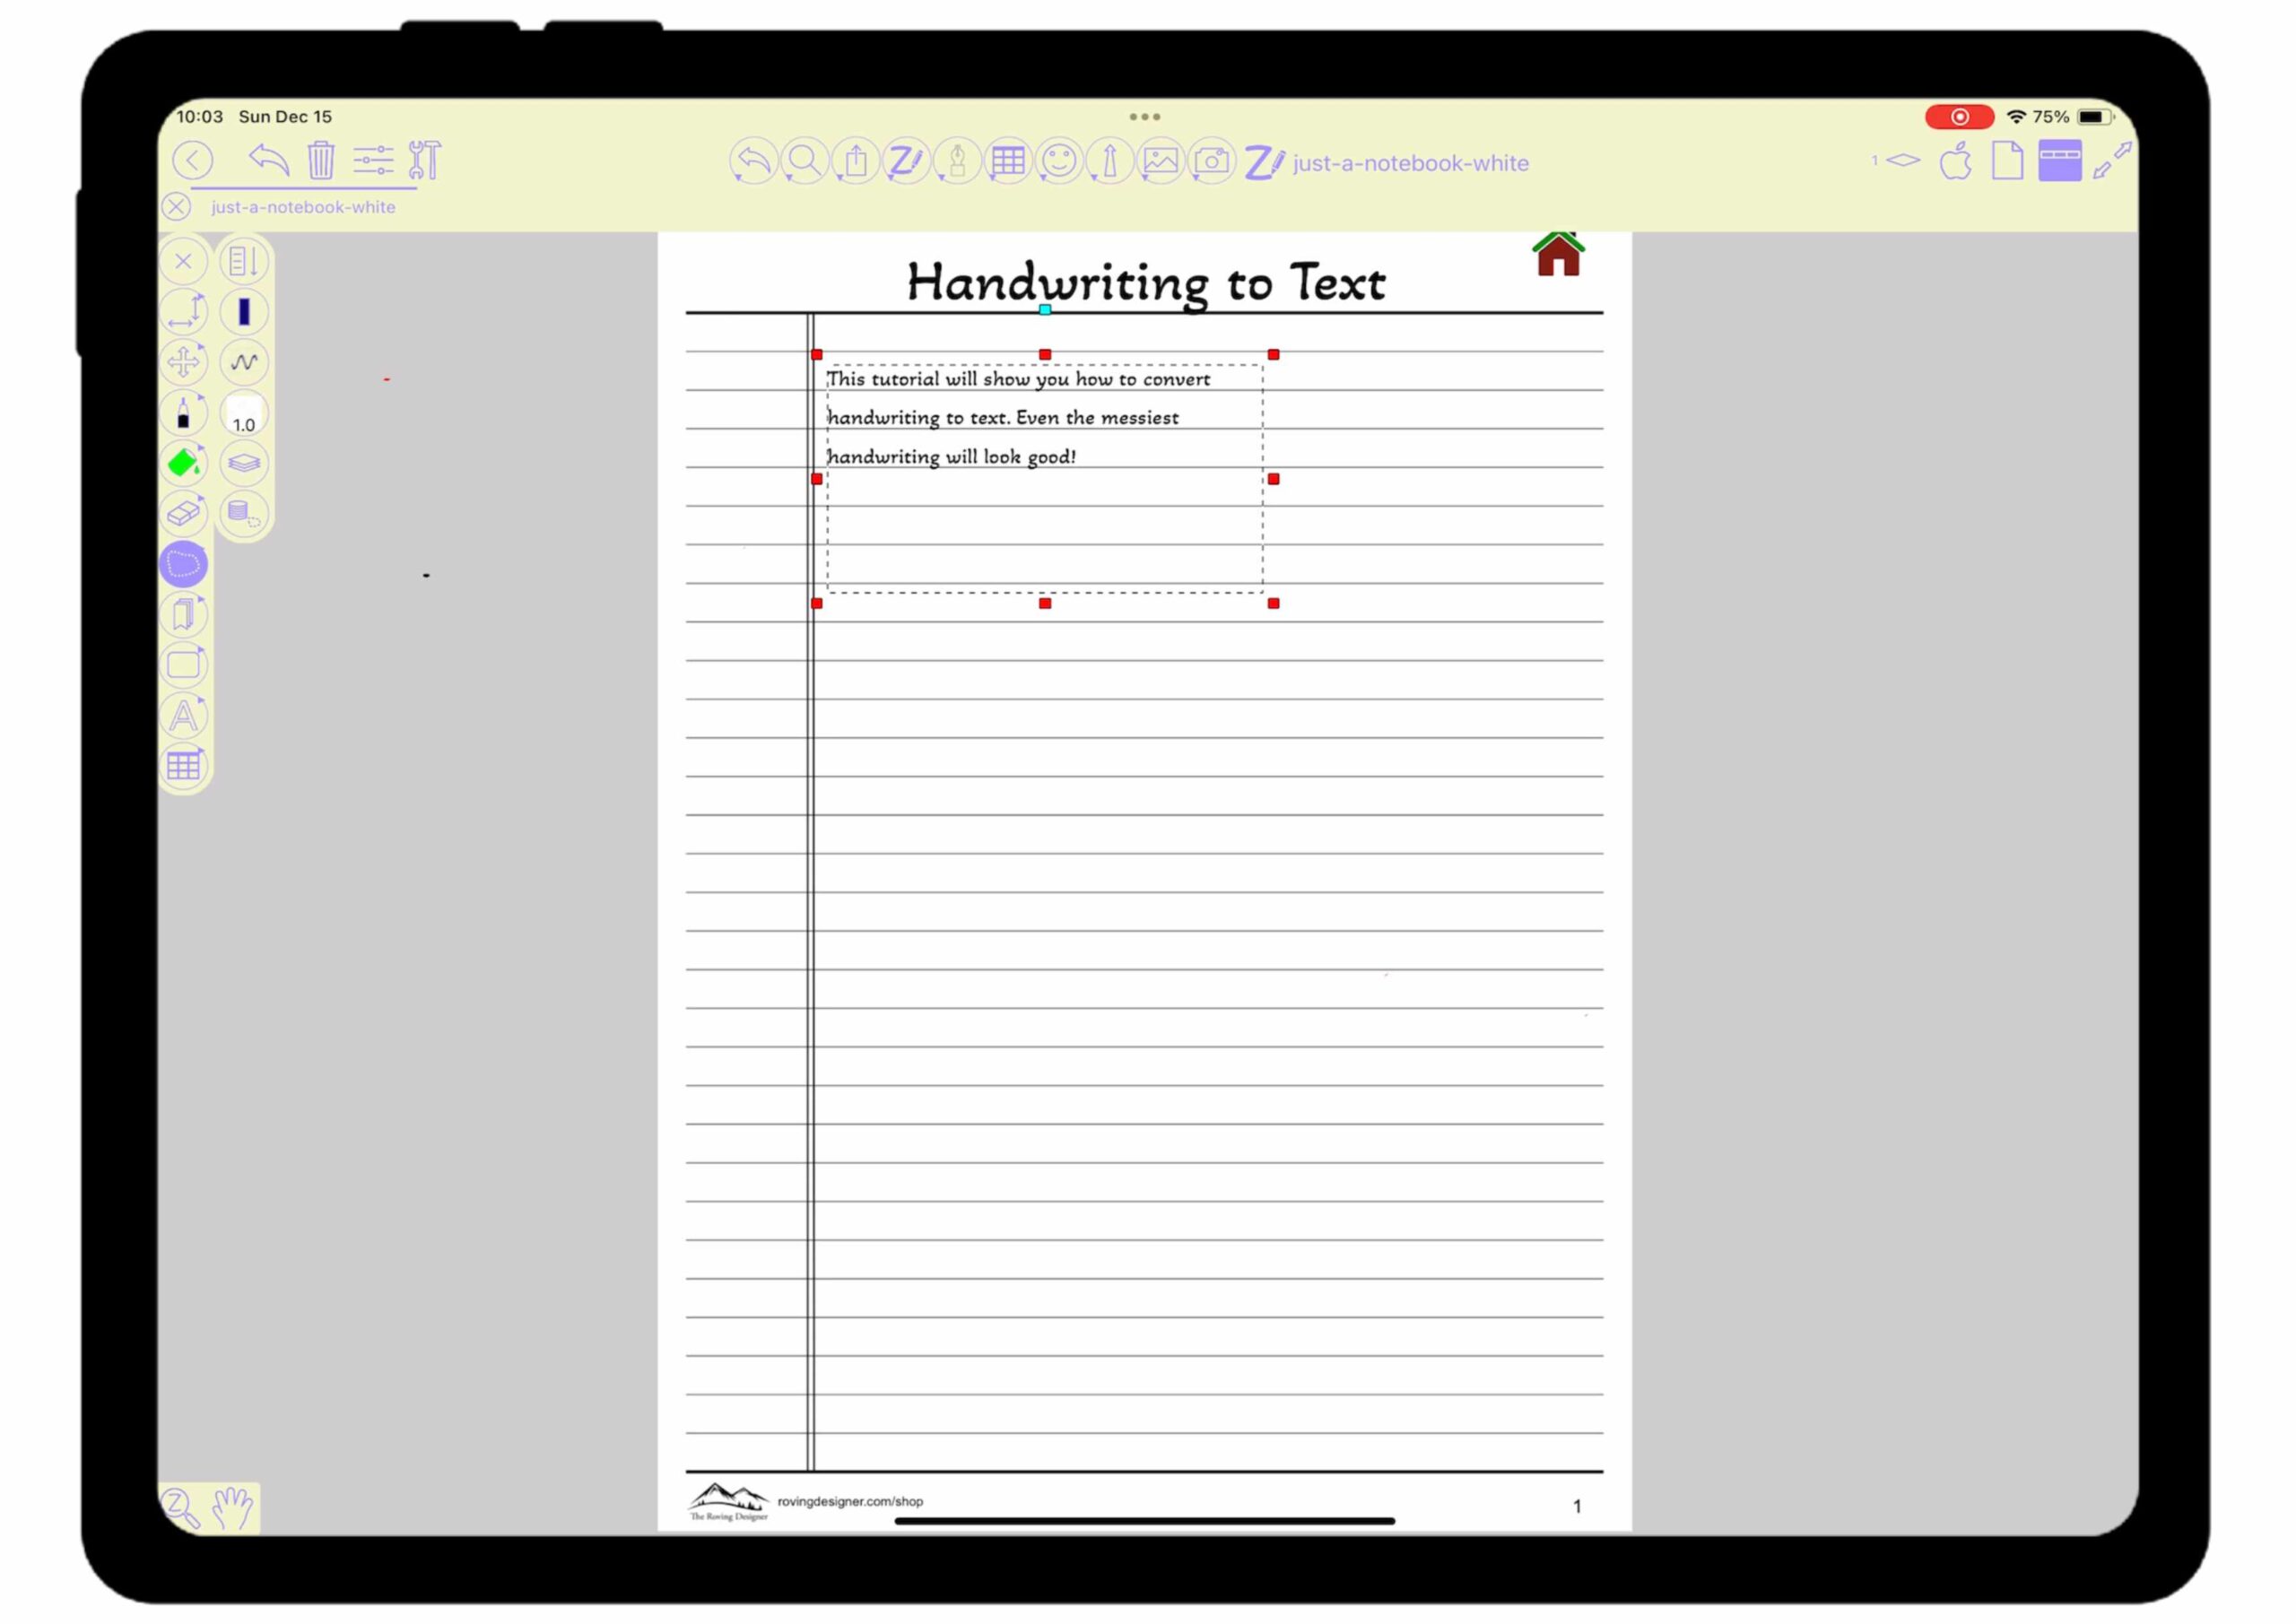
- Next, click on marquee tool and grab the side handle (little red boxes) and adjust the size of the box.
- Text will wrap accordingly and maintain the settings you selected for line height, font and font size.